Download and upload a theme
With a few clicks in Ghost Admin, you can download a local copy of a theme or upload an entirely new one. Follow our tutorial to learn the steps to take.
Whether you want to customize an existing theme or upload one you created, this tutorial will show you two ways to download and upload Ghost themes.
The first method uses Ghost Admin. It's perfect for making quick updates to a theme.
The second method uses the terminal. It's ideal for when you're developing a custom theme or making more substantial edits.
Use Ghost Admin
Ghost Admin provides a convenient interface for downloading and uploading themes.
Download a theme in Ghost Admin
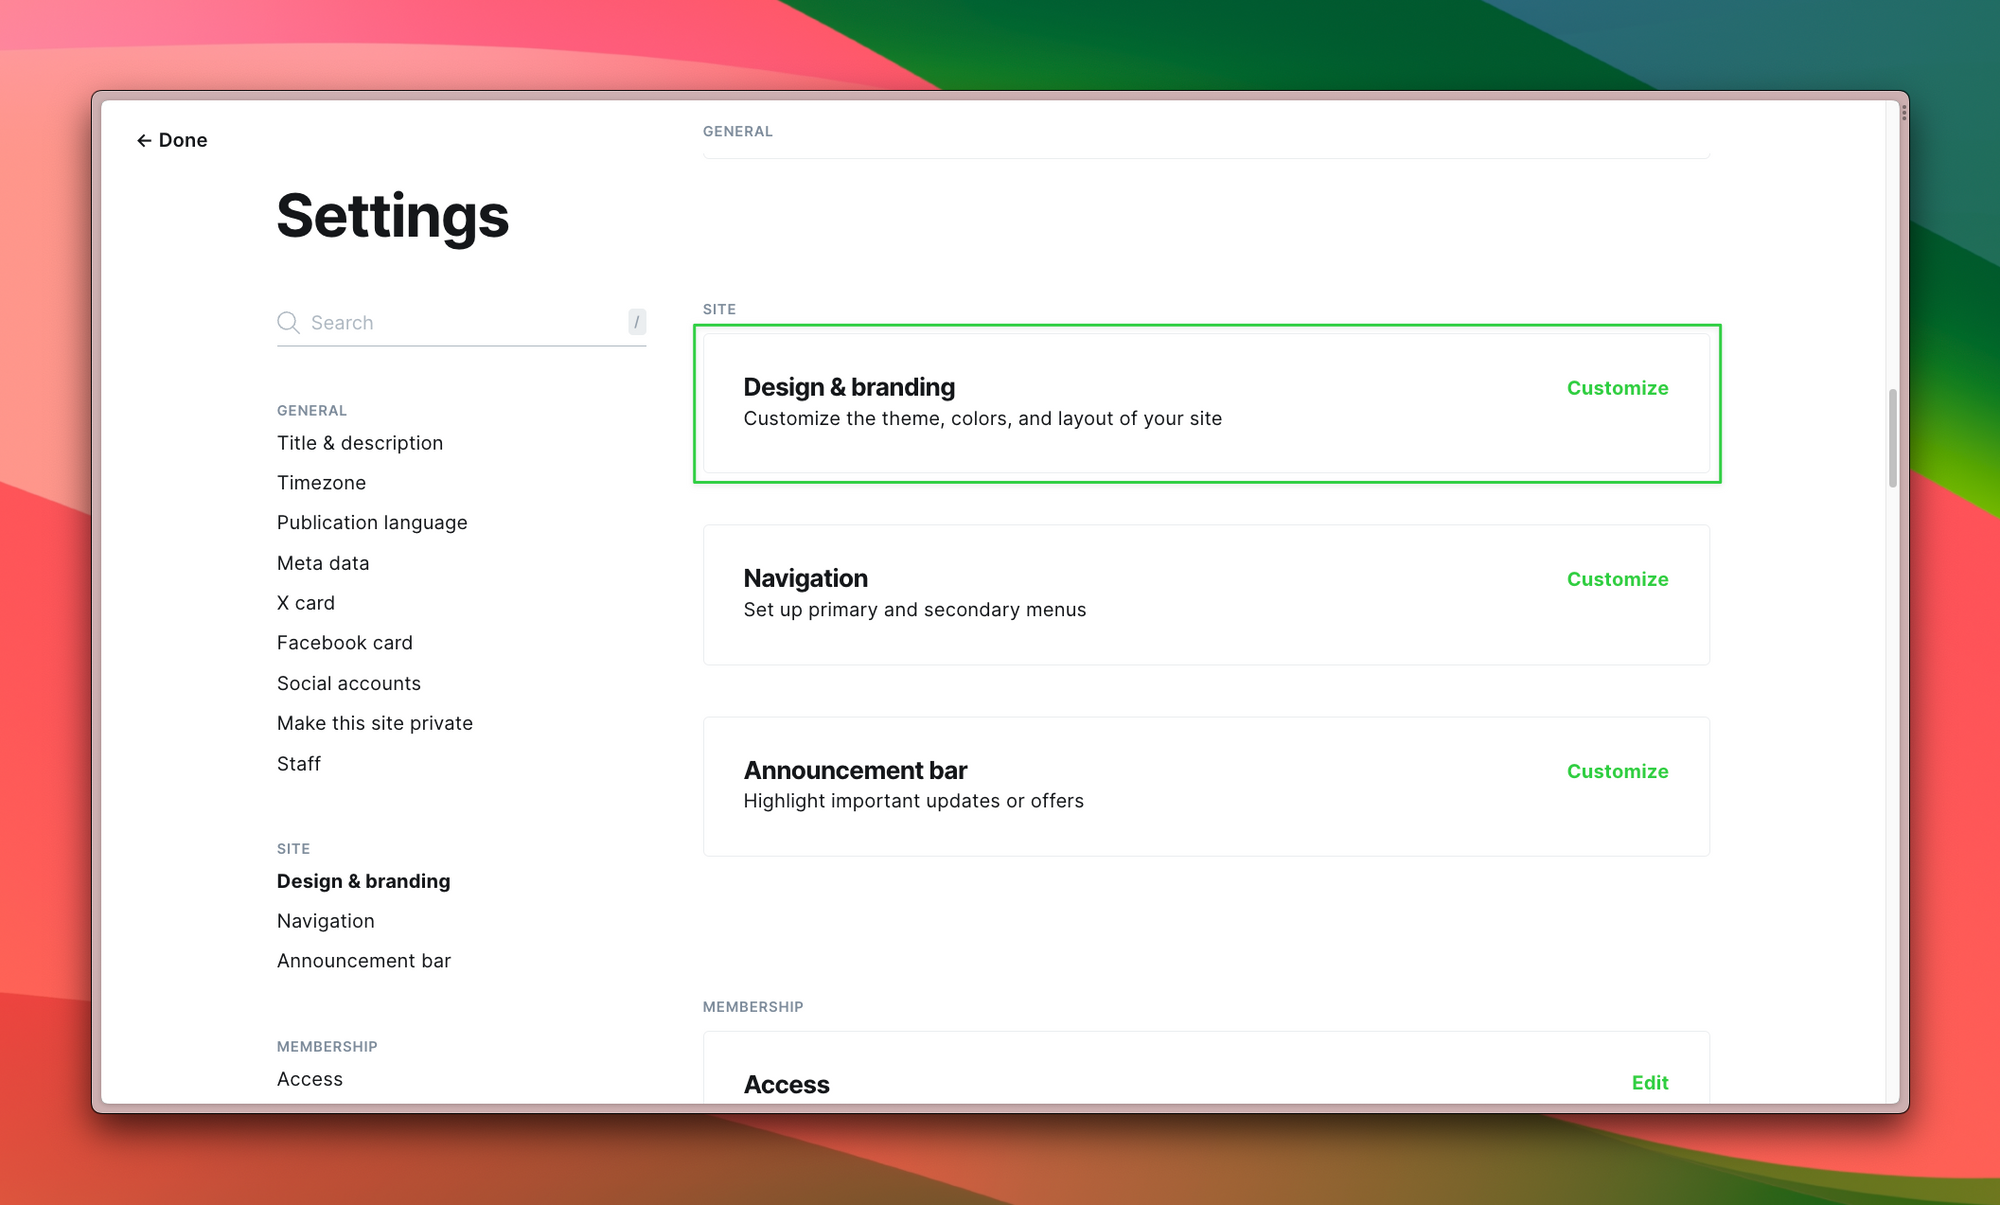
From your dashboard, go to Settings.

Next, go to the Design page.

Click Change theme.

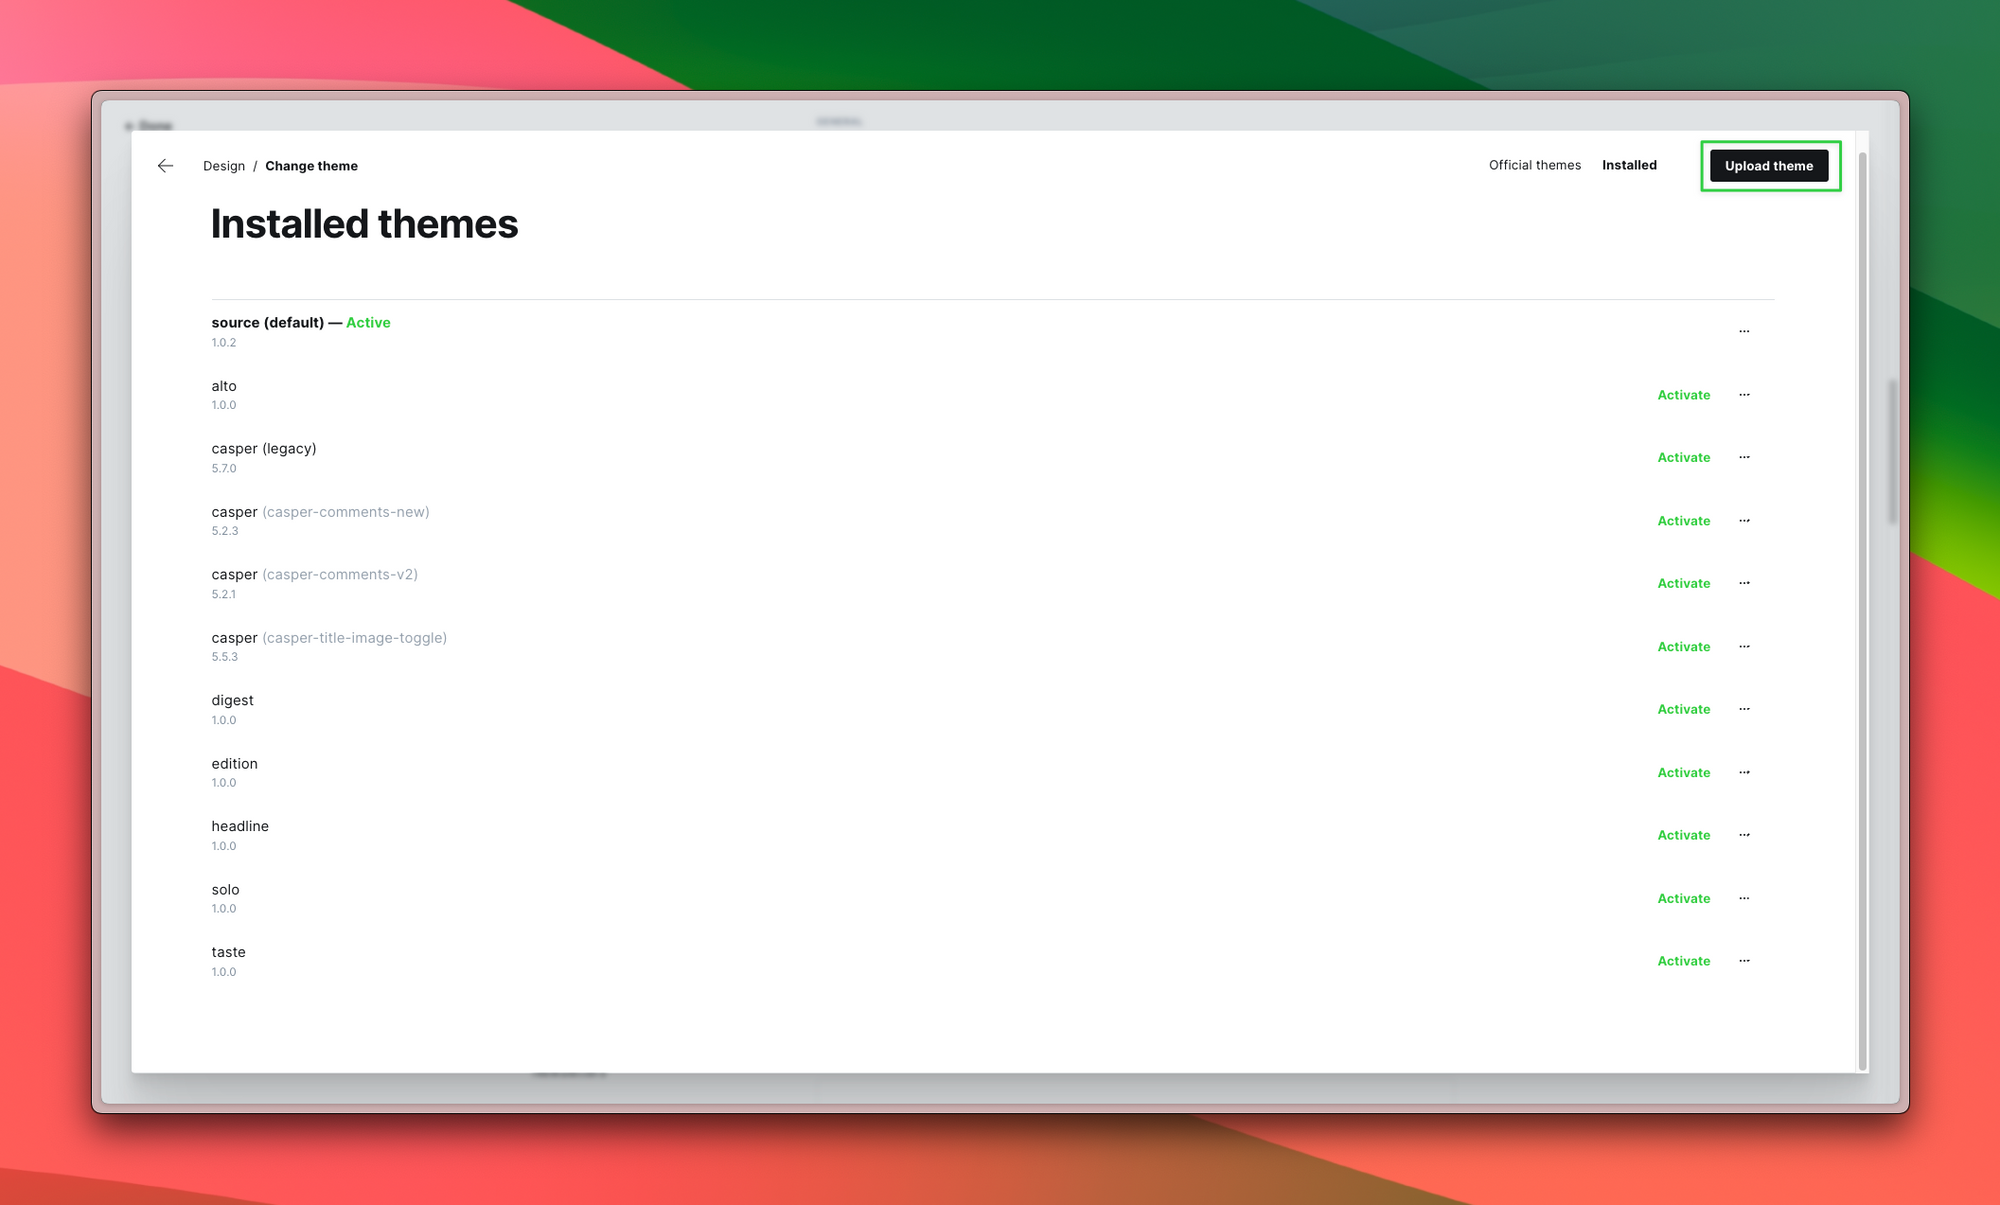
Click Installed. (If you haven't installed the theme you want to download, do that first.)

Click the overflow menu (...) and then Download. A copy of the theme will be downloaded to your computer 🥳

Upload a theme in Ghost Admin
Zip up your theme files. On the Themes page, click Upload theme.

Select the theme file to upload from your computer. After the theme uploads, choose whether you want to activate it or not. Your theme is now updated!

Make your inbox fire
Build a better internet with early access to features, tools, and tutorials.
No spam. Once a month. Unsubscribe any time.Use the terminal
With the terminal, you have more control over uploading and downloading themes. Note that you'll need Node installed for the steps below.
Download a theme from the terminal
In your terminal, navigate to where you want the theme to live in your filesystem. For this example, we'll use Ghost's official Starter theme, which offers an amazing jump-off place for creating a custom theme. The method shown here will work for most Ghost themes with a GitHub repository, including all official Ghost themes.
To copy the theme from GitHub to your machine, we're going to use a tool called degit. As the name suggests, it removes git from a repository when copying it. This means that you get a clean slate for development but also that you lose the connection to the original repository. When the Starter theme, for example, gets future updates, those updates won't be automatically added to your theme. That's generally not a problem, and the pros of this method outweigh the cons.
In the terminal, run the following command with whatever you want to call your theme's folder:
npx degit https://github.com/tryghost/starter super-sick-ghost-themeAs mentioned, this command will copy the Starter theme into a new folder called super-sick-ghost-theme.
Next, run cd super-sick-ghost-theme to go into the new directory and install the dependencies — the code used by and for the theme — by running npm install. Optionally, if you want to track the theme using git, run git init to initialize the repository.
Most themes will provide commands (in the package.json file) to assist with development.
With Starter, there are two important commands to know:
npm run devstarts the theme in development mode. This sets up a live reload server, which allows you to see changes to your theme in real-time when your theme is linked to a local Ghost install. It also recompiles your JS and CSS whenever you make changes.npm run zipcompiles and optimizes your assets. It then compresses your theme files into a zip file that's ready to upload to your Ghost site.
Learn more about the Starter theme.
Taking these steps provides an optimal development experience. Before you know it, you'll be ready to show your totally customized Ghost theme to the world.
How to link your theme and local Ghost site
To take advantage of the live reloading provided by the Starter theme, you need to have Ghost installed locally and ensure that your theme folder is in Ghost's theme folder. However, editing code directly in this folder isn't a best practice:
- If you delete your local Ghost site, you also delete your theme
- If you upload a version of your theme, it'll overwrite your local version (it's happened 😅)
- If you want to try your theme with different local installs of Ghost, perhaps with different options configured, it's much more difficult
- You can't keep all your themes in one place
Symlinking to the rescue! It allows you to create a symbolic copy of your theme in Ghost's theme folder, no matter where the actual theme files are on your system.
Open the terminal and navigate to your local Ghost install. Then, navigate to content/themes. On a fresh install, running ls in the directory will show casper, the default theme installed with Ghost.
To symlink your theme, run this command:
ln -s path/to/your/super-sick-custom-theme .ln -s creates a symbolic link between your theme folder and the current directory. Running ls again now shows your theme in the directory. Finally, run ghost restart. (Ghost needs to restart to recognize the new theme.)
Go to your Theme settings. In the Advanced dropdown, you're custom theme will be available for activation.

Once activated and with npm run dev running, changes made to your theme code will automatically appear in your browser 💫
Upload a theme from the terminal
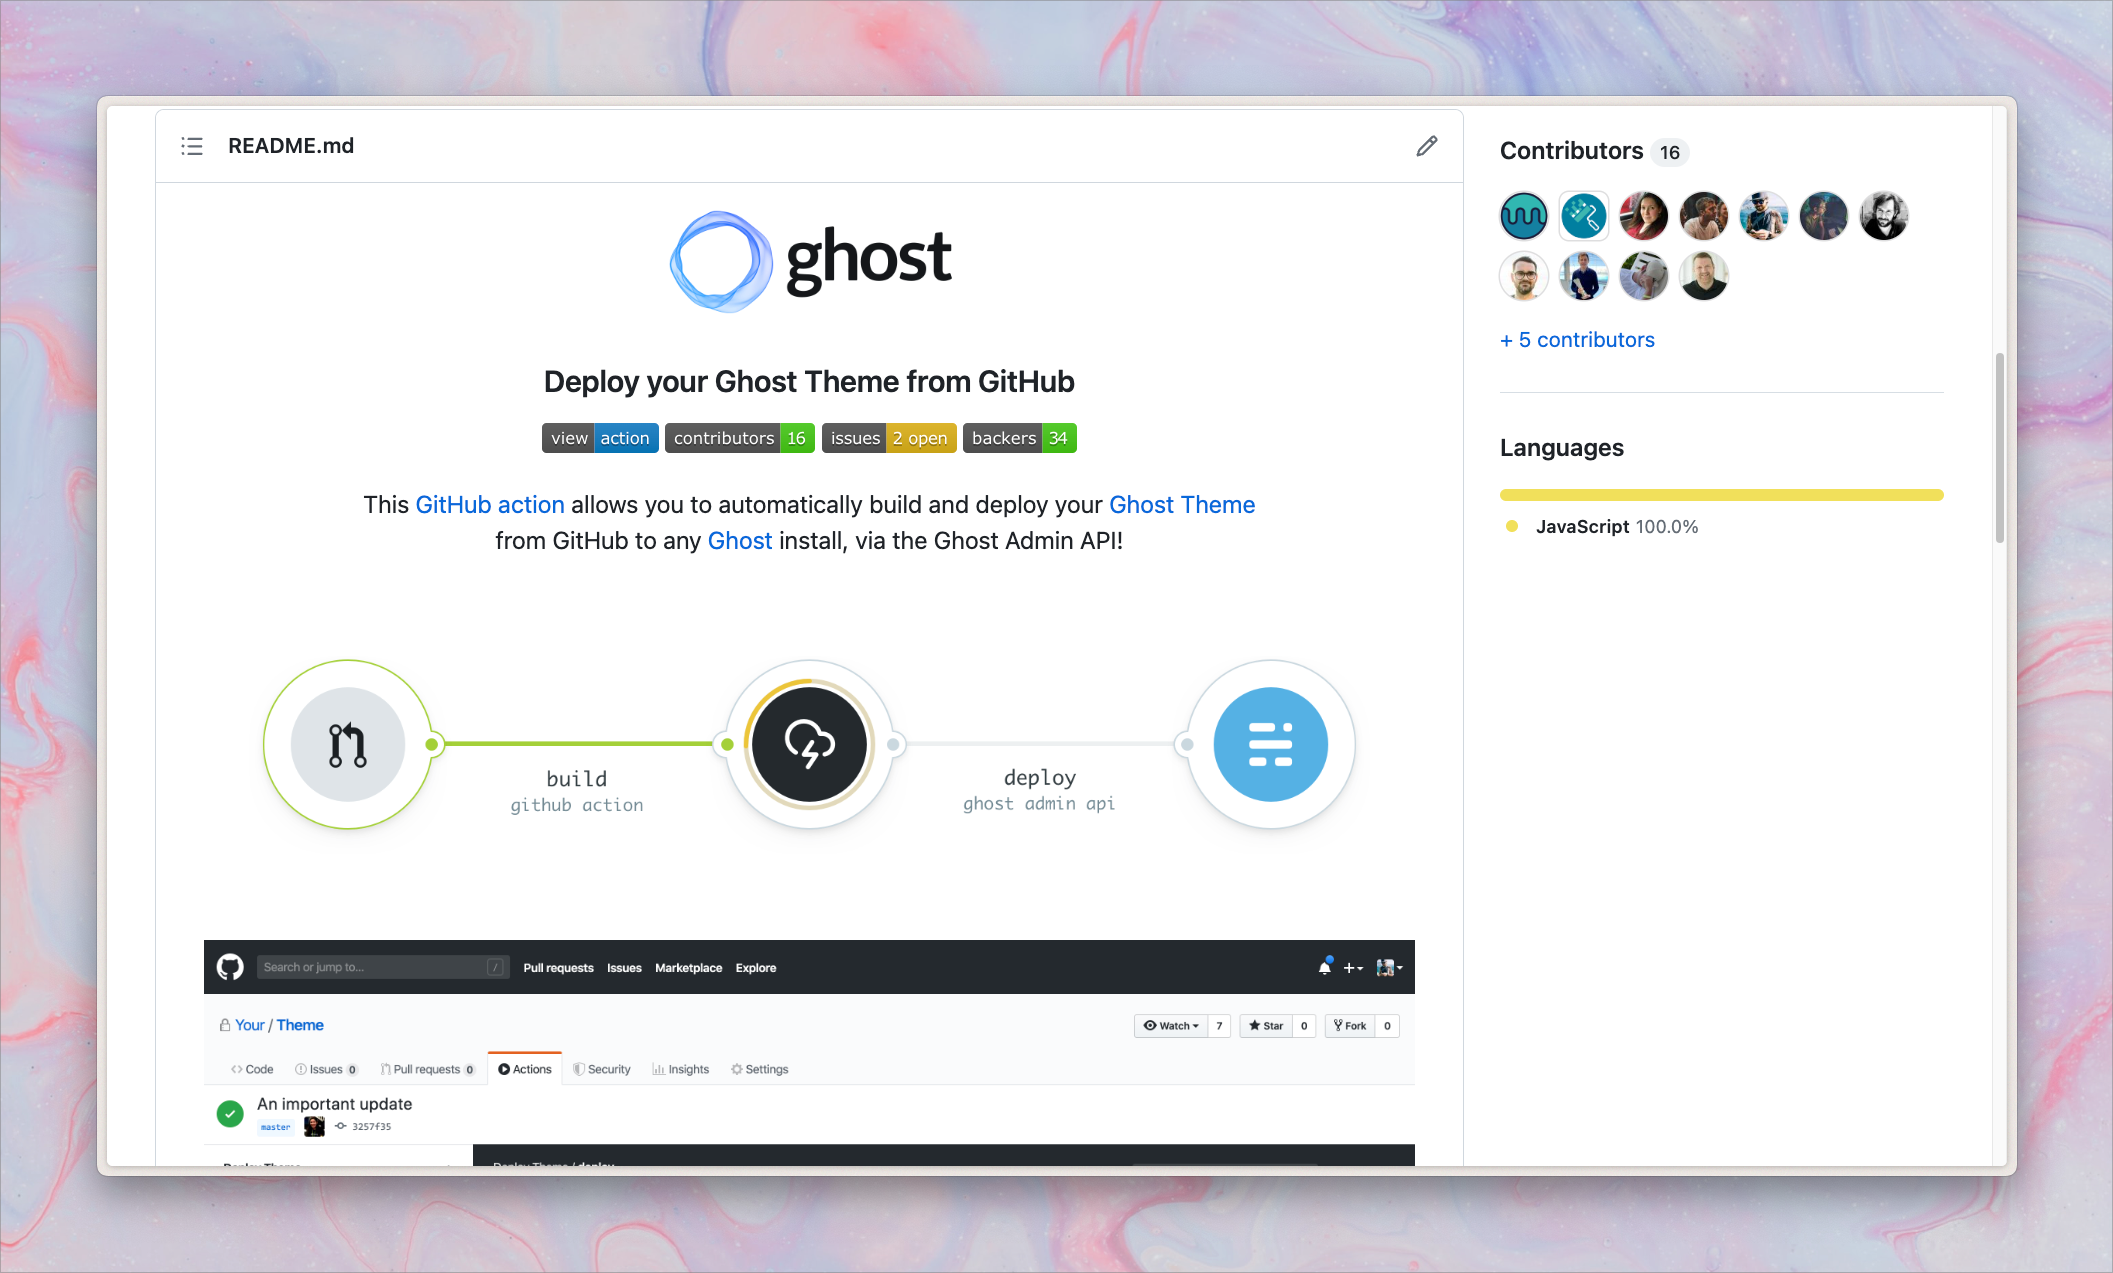
It's possible to automatically deploy changes made to your theme from the terminal using Ghost's GitHub Action. When you push a new change to the main branch on GitHub, the Action automatically uploads the updated theme to your Ghost site.
Complete instructions are available on the GitHub Action page.

Summary
You now know how to download and upload Ghost themes. Whether it's using Ghost Admin for quick edits or the terminal for more involved theme development, you're now ready to ship your super sick theme 🚢
If you're looking for a bit of inspiration on how you can customize your theme, check out these tutorials:
And, if you're looking for some friends in your theme creation journey, come to our official Forum, where we chat about all things Ghost!


